This year my grade level is implementing Units of Study. What is that you ask? Why, Units of Study are ELA standards integrated with social studies and science and aligned with Common Core State Standards. Oh, yes...get excited!
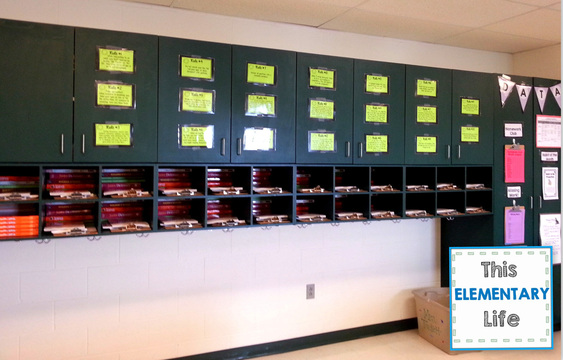
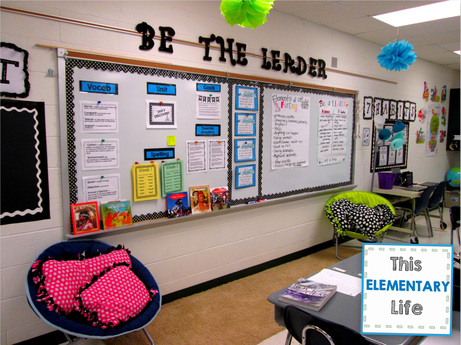
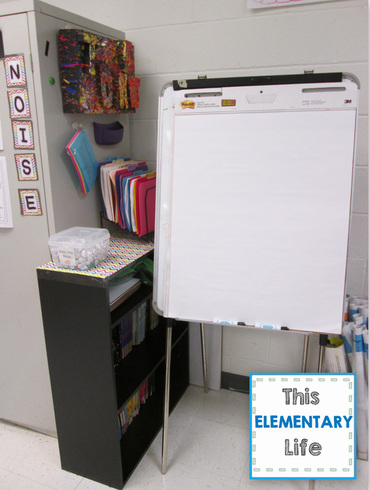
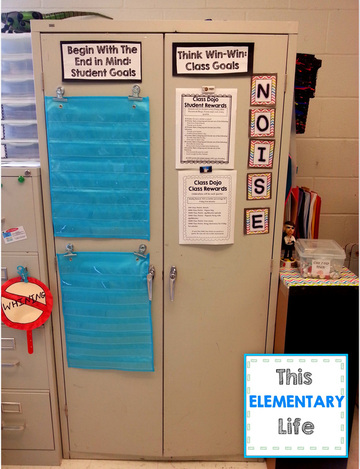
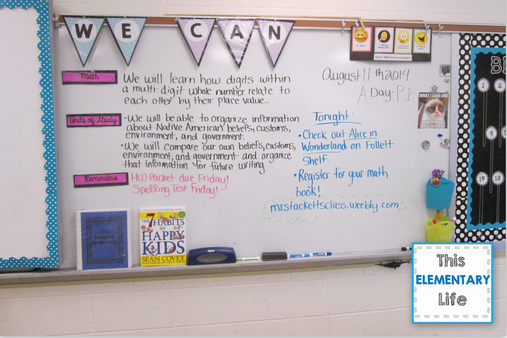
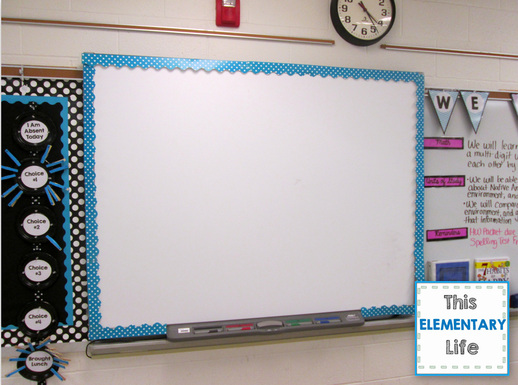
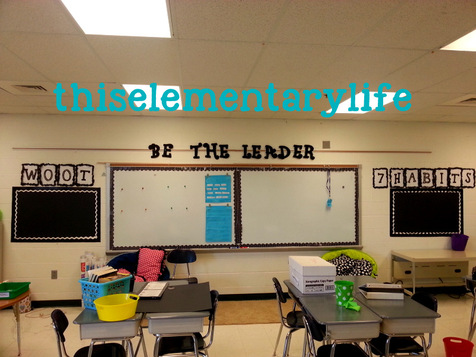
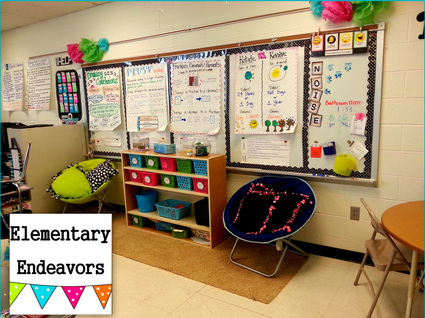
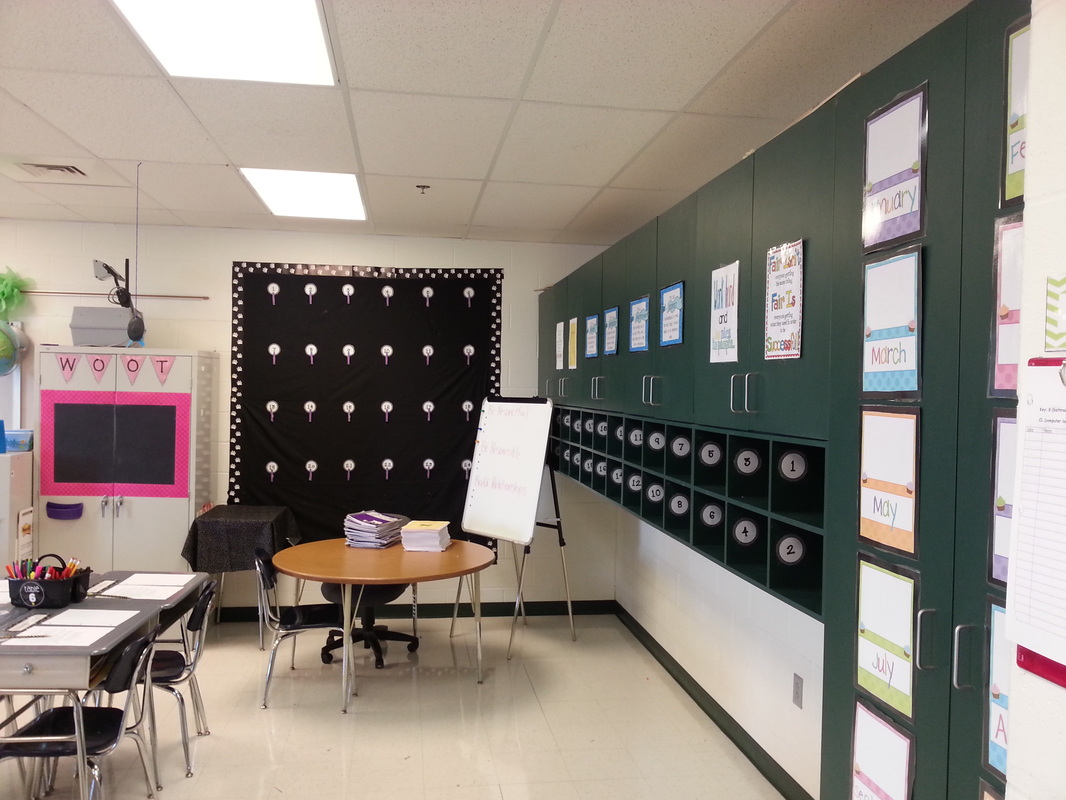
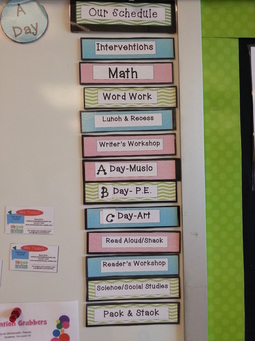
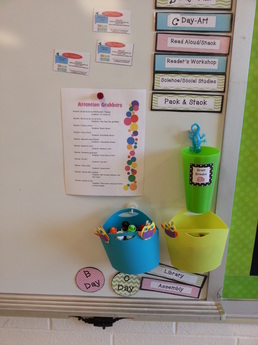
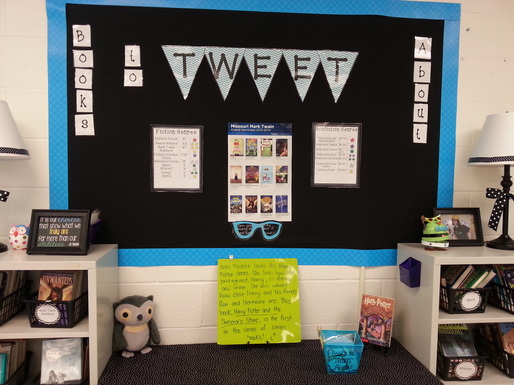
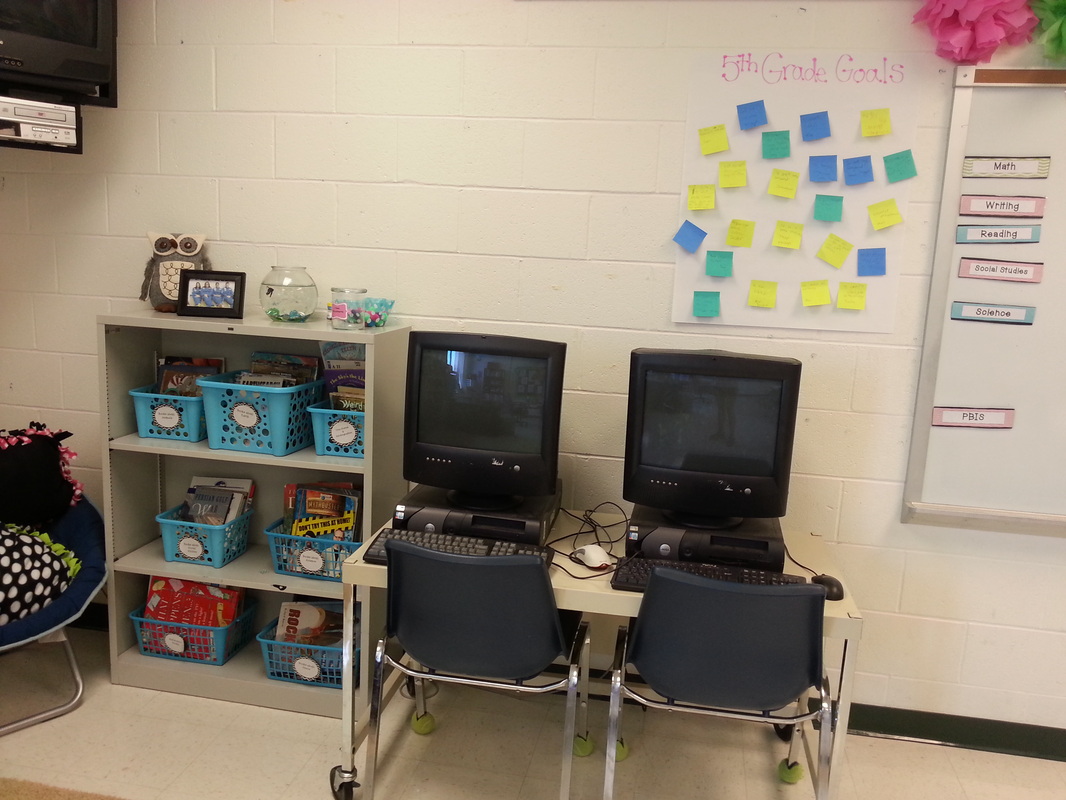
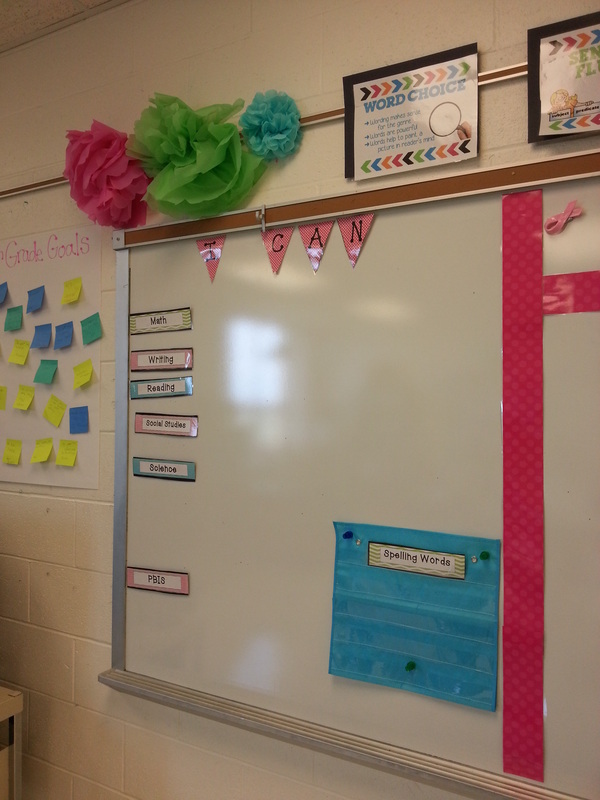
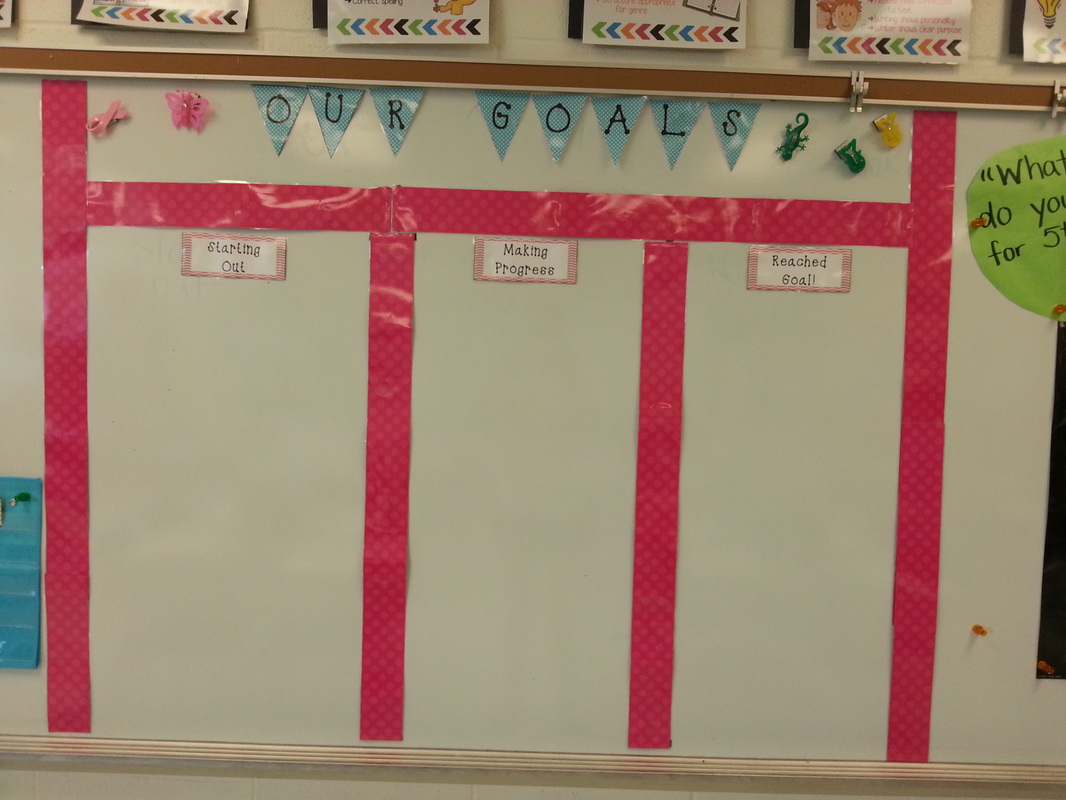
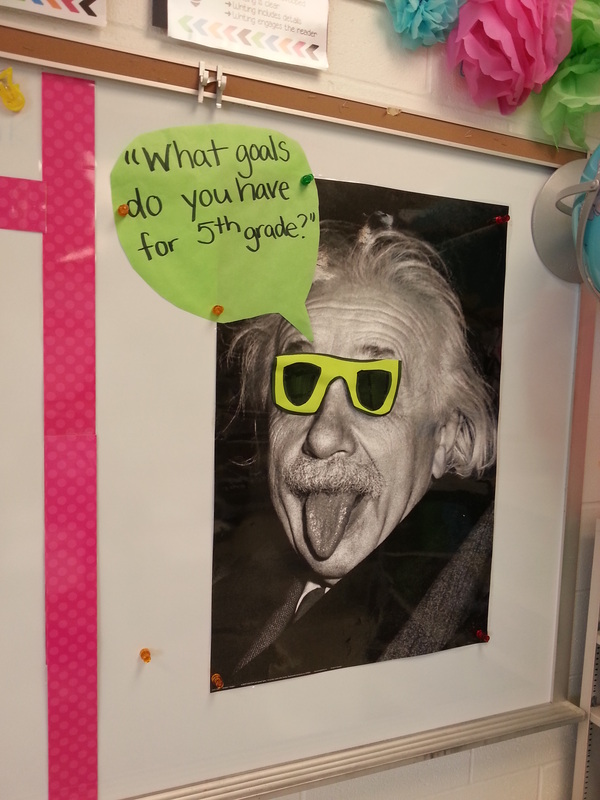
I wanted to create a space where I could display student goals, spelling words, vocabulary, and other important Units of Study information. Thus, the Focus Wall was born.
I wanted to create a space where I could display student goals, spelling words, vocabulary, and other important Units of Study information. Thus, the Focus Wall was born.
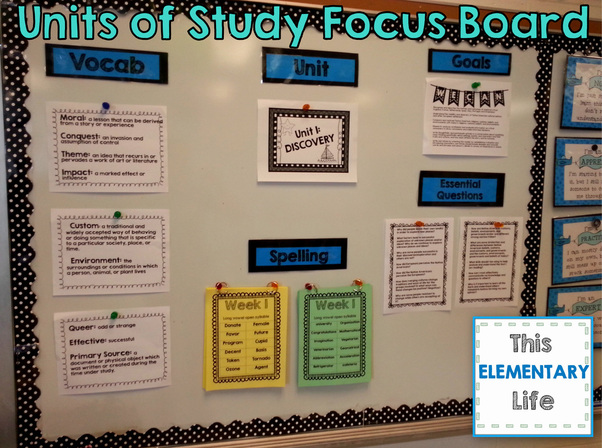
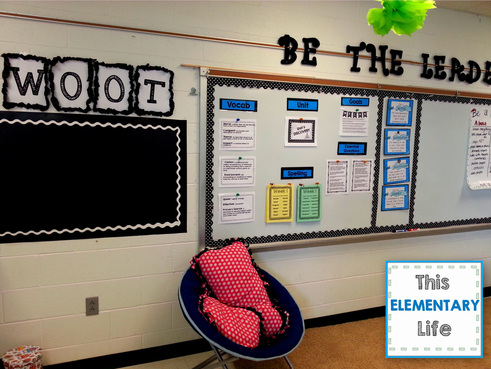
I can easily change out the papers from unit to unit. The spelling words are already typed out for the year (the yellow is the regular list and the green is the advanced list). I feel so much better knowing that my students will be able to get to all of our important units of study information all at once. Plus, it's awesome having our spelling words completely finished for the year!


 RSS Feed
